

 Arabic
  English
  German
  French
  Spanish
  Turkish
  Italian
  Russian
  Persian
  Bengali
  Hebrew
  Persian (Afghanistan)
  Scottish Gaelic
  Panjabi
  Croatian
  Slovenian
  Greek
Greek  Afrikaans
  Czech
Czech  Korean
  Japanese
  Portuguese





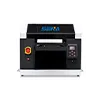
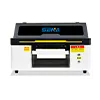
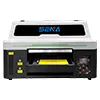
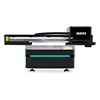
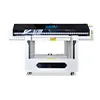
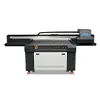
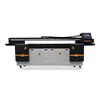
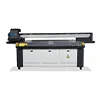
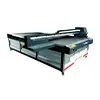
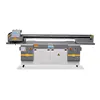




UV Printer White Ink, Varnish and Embossed Effects: A Complete Guide
UV printer white ink makes it possible to produce clear, vivid images on transparent, colored and dark materials. UV varnish printing adds gloss, contrast and decorative surface effects, while UV embossed printing creates raised textures that customers can both see and touch.
These functions can significantly increase the range and value of products made with a UV flatbed printer. However, they also introduce important questions about print layer order, file preparation, production speed, white ink maintenance and printhead protection.
This guide explains what white ink, varnish and embossed effects do, how they are produced, which materials and products benefit from them, and what customers should consider before investing in a UV printer with white ink and varnish.
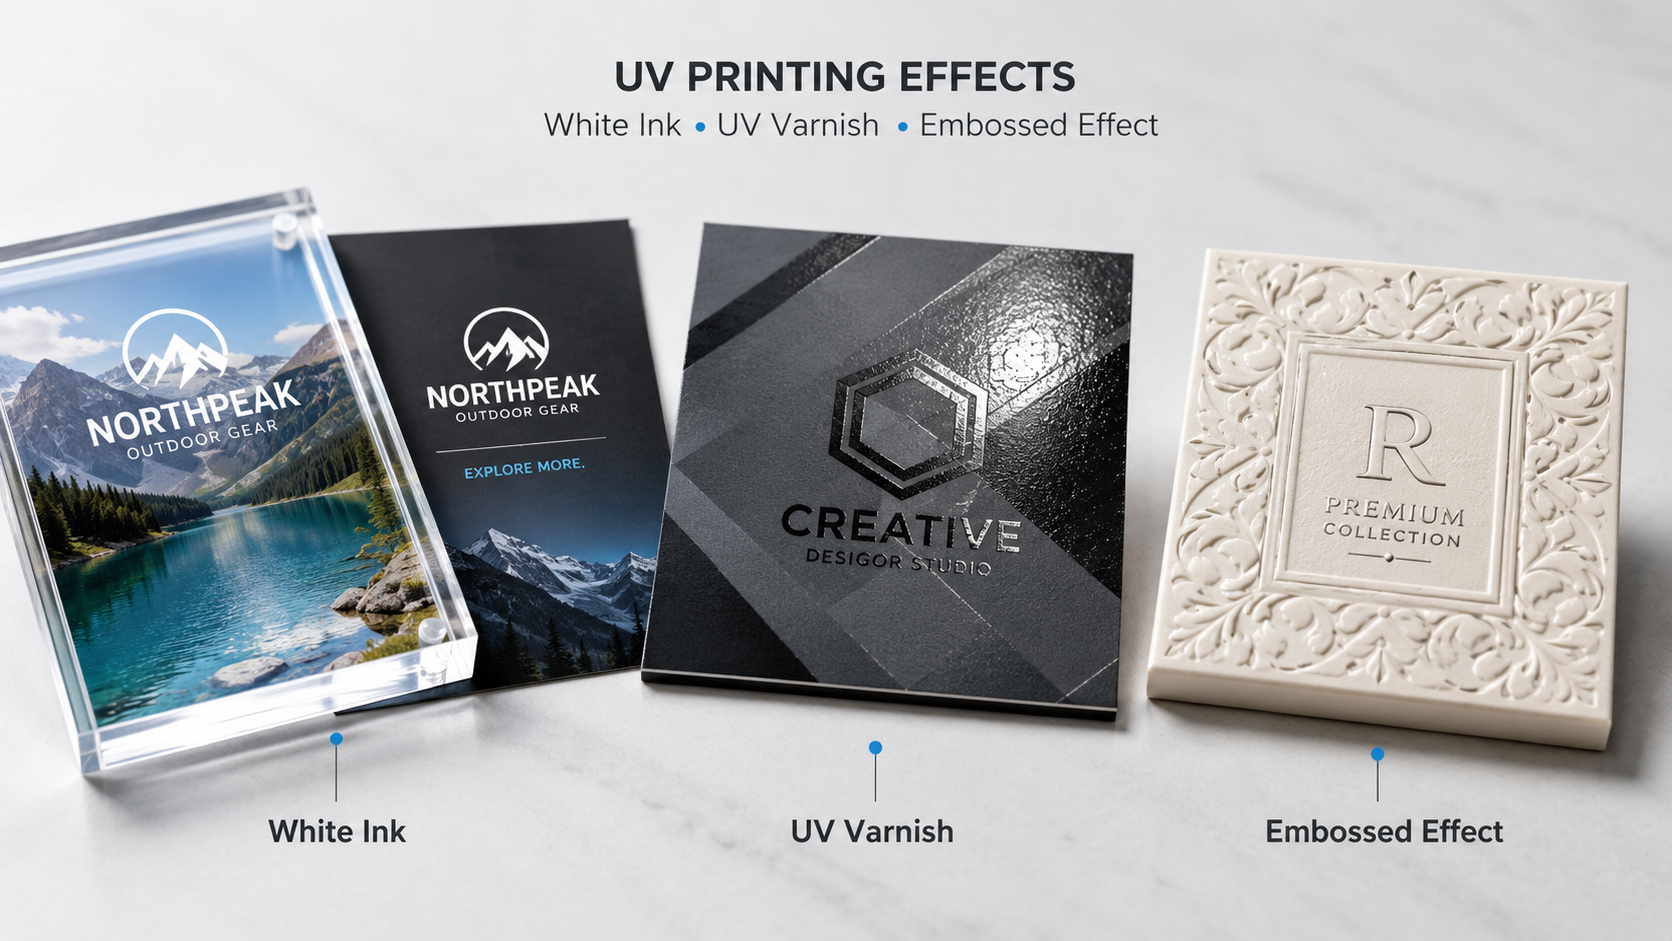
What Are White Ink, Varnish and Embossed Effects in UV Printing?
Standard CMYK ink produces full-color images, but CMYK alone is not suitable for every material. When CMYK ink is printed directly on black, transparent or strongly colored surfaces, the original material color can affect the final image.
White ink, varnish and multilayer printing provide additional options that are not available with a basic CMYK-only configuration.
| وظيفة | Main Purpose | Typical Applications | Production Impact |
|---|---|---|---|
| حبر أبيض | Creates a white image or an opaque base under CMYK colors | Clear acrylic, glass, black metal, colored PVC and dark wood | Adds ink consumption and may reduce printing speed |
| الورنيش | Creates gloss, matte contrast, surface protection or decorative highlights | Logos, labels, gift boxes, signs, nameplates and decorative products | Requires an additional varnish layer and accurate registration |
| Embossed Effect | Builds a raised texture through repeated ink or varnish layers | Raised logos, oil painting textures, wood grain, premium gifts and tactile signs | Requires multiple passes and longer production time |
These functions can be used separately or combined. For example, a clear acrylic sign may use reverse CMYK printing, a white backing layer and selective varnish on important design areas.
What Does UV Printer White Ink Do?
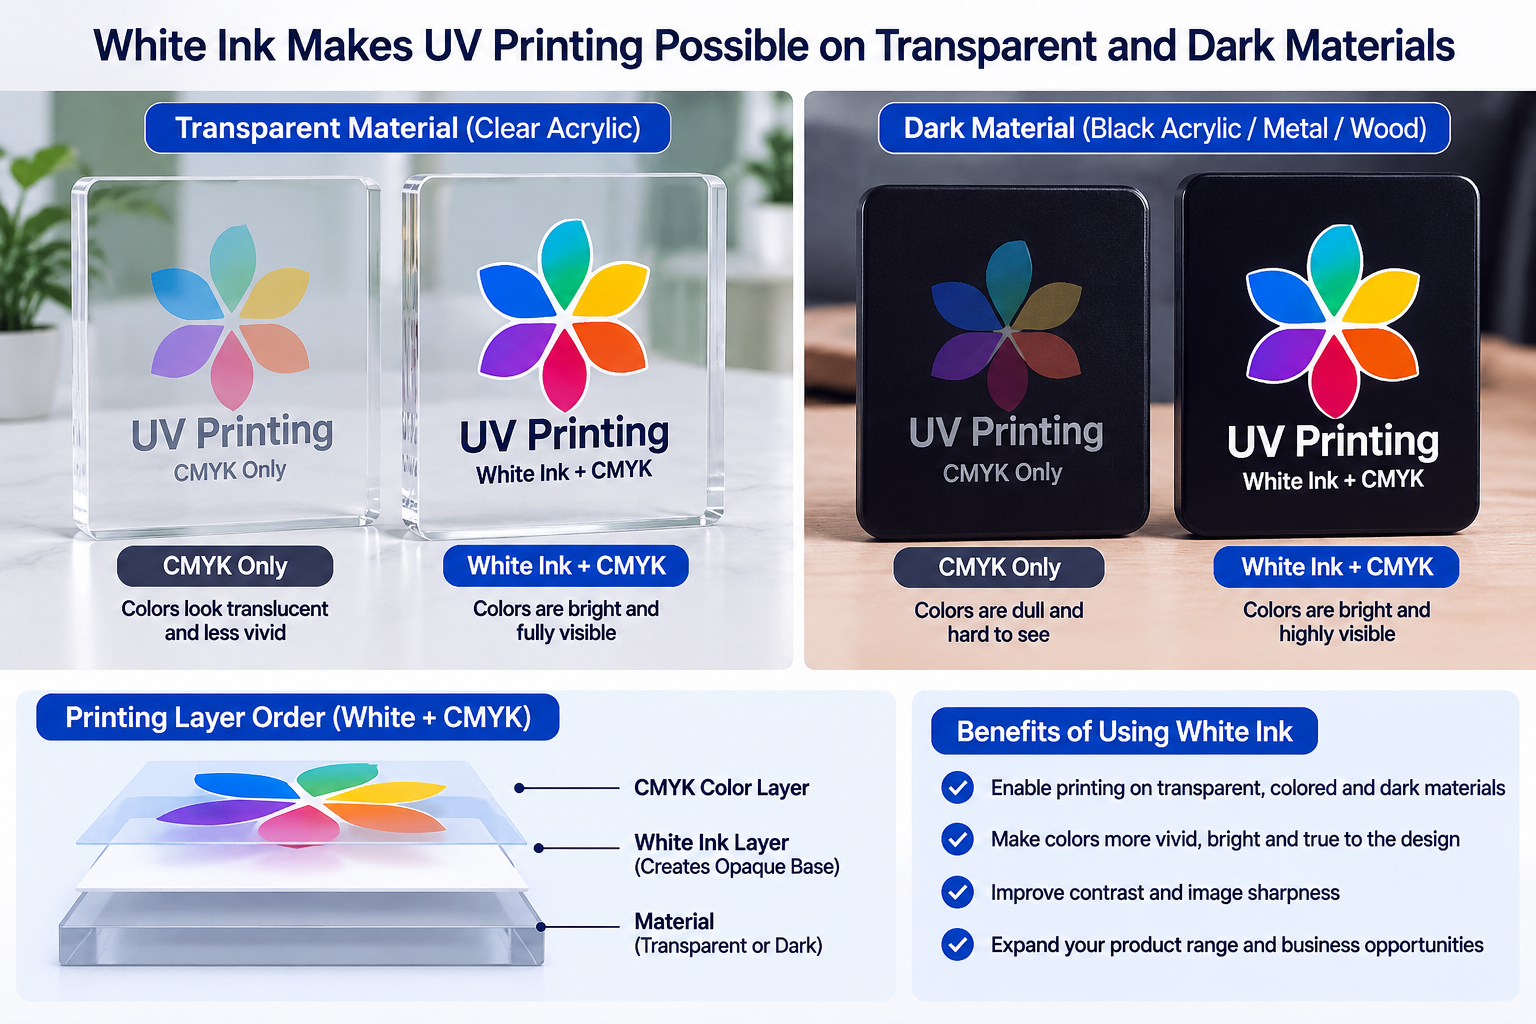
The main purpose of UV printer white ink is to control opacity. It prevents the color of the material from changing or weakening the printed image.
1. White Ink as an Underbase
When CMYK ink is printed directly on a black or dark surface, the colors may appear weak, transparent or inaccurate. A white underbase creates a neutral printing surface before the color layer is added.
A common print structure for dark materials is:
Material → White Ink → CMYK Color
The white layer blocks the background color and helps red, yellow, blue and other colors remain bright and recognizable. This is especially important when printing logos, product images, warning labels and small colored text.
2. Printing White Text, Logos and Designs
White ink can also be used as a visible design color rather than only as a base layer. It can print:
- White company logos on black acrylic
- White text on colored aluminum panels
- Product information on dark packaging
- Decorative patterns on wood, glass or leather
- White labels, symbols and identification marks
This function is valuable for sign manufacturers, promotional product companies, packaging sample producers and industrial label businesses.
3. Improving Color Density on Transparent Materials
CMYK UV ink is partially transparent. When it is printed on clear acrylic or glass without white ink, the printed image may look similar to a transparent window sticker.
Adding white ink behind the CMYK image increases color density and reduces the influence of objects or light behind the material. The result is usually brighter, more solid and easier to read.
4. Creating Selective Transparent Areas
White ink does not always need to cover the entire design. A white mask can be created only under selected areas.
For example, a transparent acrylic sign may use white ink under the company name while leaving decorative sections transparent. This creates a combination of solid color, clear material and layered visual depth.
5. When White Ink Is Not Necessary
White ink is not required for every UV printing job. CMYK-only printing may be sufficient when:
- The material is white or very light in color
- A transparent color effect is intentionally required
- The product is temporary and cost is more important than opacity
- The design does not contain white areas
- High production speed is more important than special effects
Using CMYK only can reduce ink consumption, simplify maintenance and improve production speed. Customers should therefore choose white ink based on their actual product range rather than assuming every order needs it.
How to Print on Transparent and Dark Materials
The correct printing order depends on the color of the material, which side will be viewed and whether the design should appear transparent, opaque or double-sided.
Printing on Dark Materials
For black acrylic, colored PVC, dark metal, painted wood and similar materials, the usual layer order is:
Dark Material → White Underbase → CMYK Image
The white layer should match the shape of the color image. Poor alignment can produce visible white edges around the design. Accurate platform movement, proper file preparation and printhead calibration are therefore essential.
The required white ink density depends on the material and desired appearance. One white layer may be sufficient for some signs, while highly opaque applications may require a denser white mode or additional passes.
Front-Surface Printing on Clear Materials
In front-surface printing, the ink is printed on the same side from which the final image is viewed.
A common layer order is:
Clear Material → White Ink → CMYK Color
The print can be touched directly, so the ink surface may be more exposed to abrasion. This method is suitable when the printed texture should remain visible or when the back of the product is not accessible.
Reverse Printing on Clear Acrylic or Glass
Reverse printing, also called second-surface printing, places the ink on the back of the transparent material. The finished image is viewed through the material from the front.
A typical reverse printing structure is:
Clear Material → Mirrored CMYK Image → White Backing Layer
The artwork must normally be mirrored before printing. The transparent material protects the printed surface from direct contact and can create a smooth, premium appearance.
This process is commonly used for:
- Clear acrylic signs
- Control panels
- Decorative glass
- لوحات العرض
- Interior identification signs
- Retail and exhibition graphics
For more information about transparent material applications, read our
UV printing on acrylic guide
و
UV printing on glass guide.
Common Multilayer Printing Structures
| Layer Structure | Typical Purpose |
|---|---|
| White + CMYK | Full-color printing on dark materials |
| CMYK + White | Reverse printing on transparent materials |
| CMYK + White + CMYK | Two-sided viewing or day-and-night applications |
| White + CMYK + Varnish | Opaque color with selective gloss or decorative highlights |
| Repeated White or Varnish Layers | Raised texture and embossed effects |
What Is UV Varnish Printing?
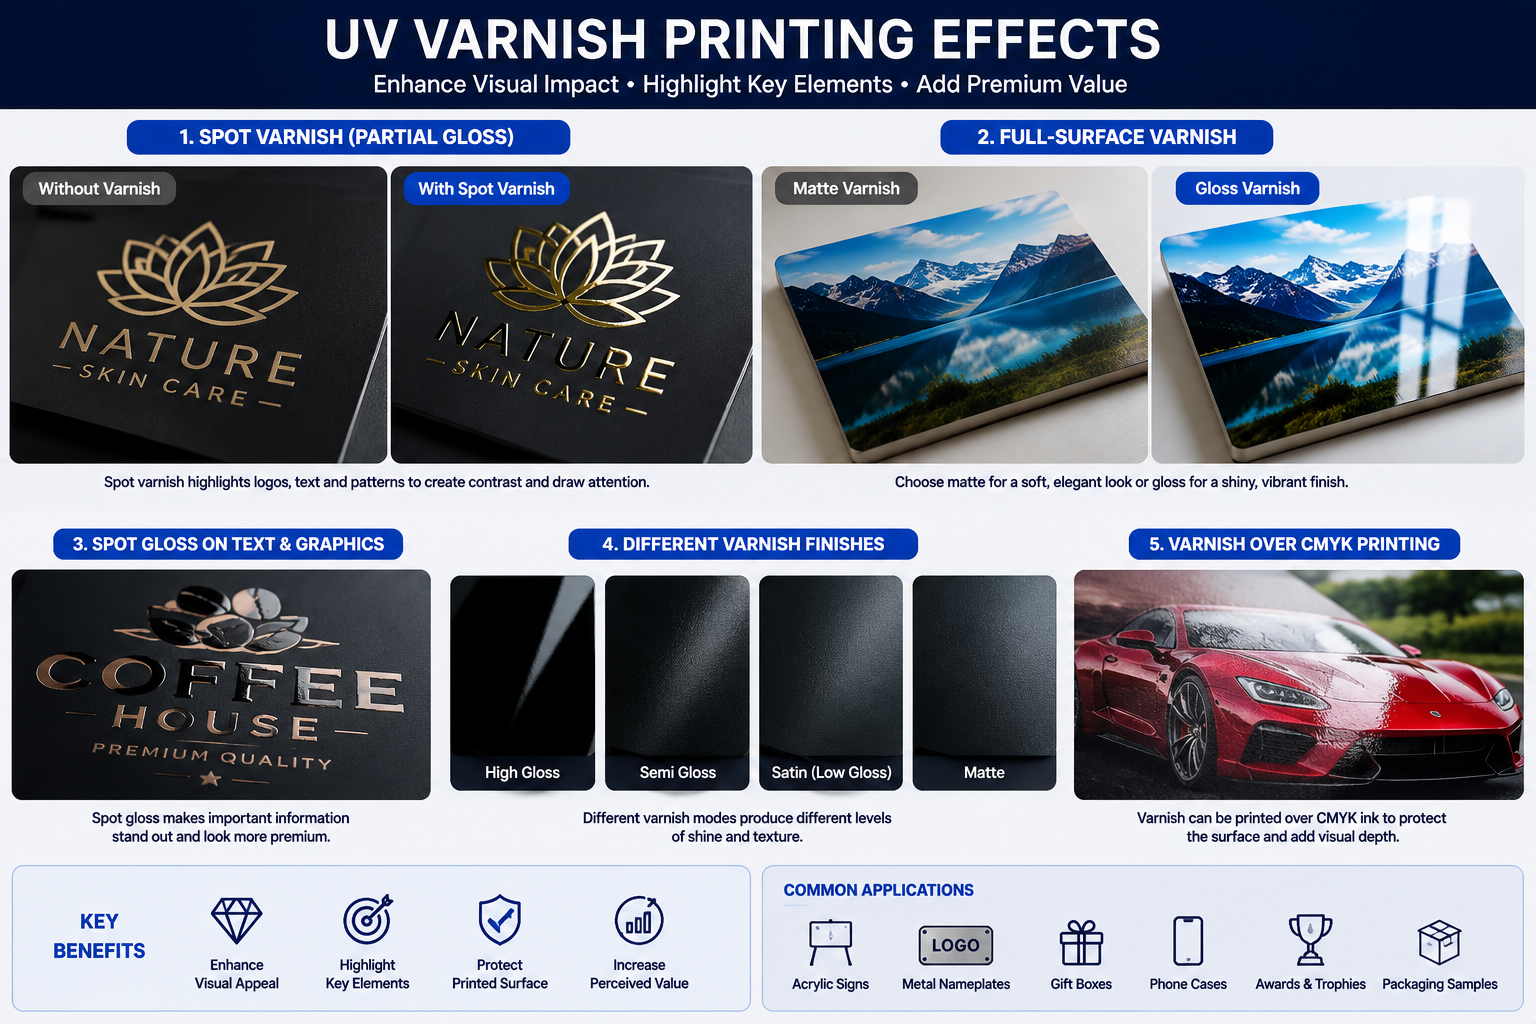
UV varnish printing uses clear UV ink to add a decorative or functional surface layer. Depending on the printer, ink configuration and curing settings, varnish can produce glossy highlights, subtle matte contrast or textured effects.
Spot Varnish vs Full-Surface Varnish
Spot varnish is printed only on selected design areas, such as:
- A company logo
- Product name
- Decorative pattern
- Important text
- Border or graphic element
The contrast between varnished and unvarnished areas makes the selected elements more noticeable. This is useful when a customer wants a premium effect without covering the entire product.
Full-surface varnish covers most or all of the printed area. It can unify the appearance of the surface and may provide some additional resistance to light handling. However, varnish should not automatically be treated as a replacement for industrial protective coatings.
Gloss and Matte Effects
Gloss varnish reflects more light and makes printed elements appear brighter. It is often used for logos, photographs, packaging samples, decorative signs and promotional products.
A matte or low-gloss effect produces a softer appearance. The final result depends on the varnish ink, printing mode, UV lamp settings, surface condition and curing process.
Before accepting a production order, it is advisable to print a sample using the customer’s actual material. The same varnish setting can appear different on acrylic, metal, glass, wood or coated plastic.
Best Applications for UV Varnish
UV varnish is commonly used for:
- Acrylic signs and display panels
- Metal nameplates and identification plates
- Gift boxes and packaging samples
- Wooden gifts and decorative products
- Phone cases and electronic accessories
- Awards, medals and commemorative products
- Custom promotional gifts
- Decorative wall panels and artwork
The effect is particularly useful when the design is simple. A small amount of spot gloss on a logo can create stronger visual contrast than applying varnish over every part of the image.
Why UV Varnish May Not Look Glossy Enough
A weak or uneven gloss effect may result from several factors:
- The varnish layer is too thin
- The material surface is rough or highly absorbent
- The UV curing setting is not suitable
- The print environment contains dust
- The varnish is printed over an uneven CMYK layer
- The printhead height is too large
- The varnish channel has missing nozzles
- The selected printing mode is designed for texture rather than high gloss
Increasing the varnish amount is not always the correct solution. Excessively thick varnish can reduce detail, create uneven edges or increase production time. A controlled sample test is more reliable than making large adjustments immediately.
How Does UV Embossed Printing Work?
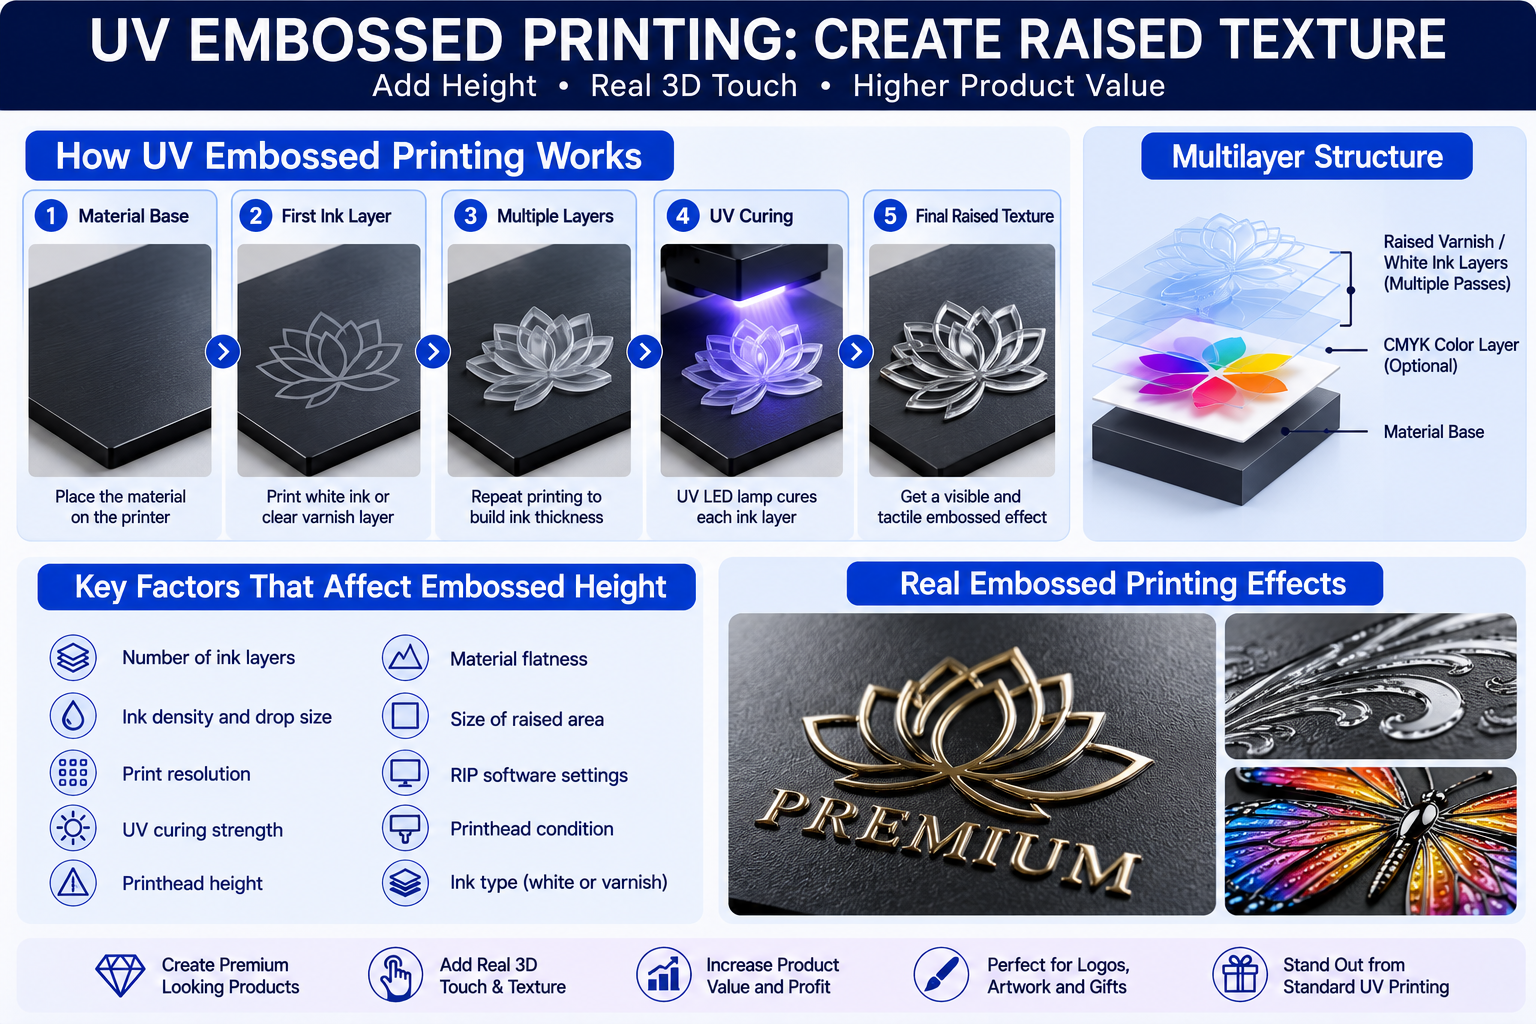
UV embossed printing creates a raised surface by repeatedly printing white ink, clear ink, varnish or a combination of layers in the same position.
Unlike mechanical engraving, which removes material, UV embossing adds cured ink above the original surface. For this reason, it is often described as raised printing, textured UV printing or 2.5D printing.
Building Height with Multiple Ink Layers
A single UV ink layer is usually too thin to produce a strong tactile effect. The printer must repeat the selected texture layer several times.
Each pass deposits more ink and cures it before the next layer is added. As the number of layers increases, the raised structure becomes more noticeable.
The final height is affected by:
- Number of repeated layers
- Ink drop size
- Print resolution
- Ink density
- شدة المعالجة بالأشعة فوق البنفسجية
- Printhead condition
- Material flatness
- Printhead height
- Size of the raised area
- RIP software settings
A small logo may produce a cleaner raised result than a very large solid area. Large embossed sections require more ink, more curing and more production time.
Preparing an Embossed Print File
The raised portion of the design should be prepared as a separate layer or spot color. Depending on the RIP software, the operator may use:
- A dedicated spot color layer
- A grayscale height map
- A separate white ink mask
- A separate varnish mask
- A repeat-print setting inside the RIP software
White areas in a height map may represent the highest printed sections, while black areas receive little or no raised ink. Gray levels can be used to create gradual height differences when supported by the workflow.
The exact spot color name must match the requirements of the RIP software. A file that appears correct in design software may not automatically generate a white or varnish channel after import.
Best Products for Embossed UV Printing
Raised UV effects are suitable for products where visual and tactile value are more important than maximum production speed.
تتضمن التطبيقات الشائعة ما يلي:
- Raised company logos
- Premium packaging samples
- Oil painting and brush textures
- Wood grain and leather-like patterns
- Awards and commemorative products
- Decorative signs
- Custom gifts
- Art reproduction panels
- Textured phone cases
- Tactile product labels
UV Embossing vs Mechanical Engraving
| Comparison | UV Embossed Printing | Mechanical Engraving |
|---|---|---|
| عملية | Adds cured ink above the surface | Cuts or removes part of the material |
| Color | Can combine raised texture with full-color printing | Usually requires a separate coloring process |
| Depth | Suitable for shallow raised effects | Can create deeper grooves or cuts |
| أفضل استخدام | Custom graphics, tactile logos and decorative surfaces | Deep marking, carving and material removal |
Customers should not expect a UV flatbed printer to replace a CNC router or laser engraving machine. UV embossing is most effective for decorative, shallow and detailed surface textures.
File Preparation and Printing Workflow
Stable white ink, varnish and embossed printing requires more than selecting a special ink channel. The operator must prepare the artwork, material and printer correctly.
-
Confirm the material.
Check whether the surface is transparent, dark, coated, untreated, smooth, rough or absorbent. -
Confirm the viewing direction.
Decide whether the image will be viewed from the printed side or through a transparent material. -
Clean the surface.
Remove dust, grease, fingerprints and loose particles before printing. -
Test adhesion.
Some glass, metal and plastic materials may require surface treatment or primer. -
Prepare separate print layers.
Create independent CMYK, white, varnish and embossed texture layers. -
Import the artwork into the RIP software.
Confirm that all spot color channels are recognized correctly. -
Select the correct layer order.
Choose white-first, color-first, varnish-last or another structure based on the application. -
Set the material height.
Maintain a safe and consistent distance between the printhead and the material. -
Run a nozzle test.
Do not begin a high-value multilayer print when the white or varnish channel has missing nozzles. -
Print a small sample.
Check color density, white opacity, varnish gloss, texture height and adhesion. -
Adjust the file or printing mode.
Correct the mask, ink density, layer count or UV curing settings when necessary. -
Begin batch production.
Record the successful settings for repeat orders.
Customers who frequently switch between products should create standard printing presets for common materials. This reduces setup time and helps different operators achieve consistent results.
UV Printer White Ink Maintenance and Printhead Risks
UV printer white ink maintenance is one of the most important parts of operating a printer with white ink. White ink contains opaque pigment that can settle when the machine remains inactive.
A stable white ink system may include circulation, stirring or agitation functions. These systems help keep the pigment distributed throughout the ink path, but they do not eliminate the need for regular maintenance.
Daily White Ink Maintenance
A practical daily routine normally includes:
- Running a nozzle test before production
- Checking whether white ink density is even
- Confirming that the circulation or agitation system is operating
- Cleaning the capping station and wiper when required
- Removing dried ink or dust around the printhead area
- Checking ink level and expiration information
- Following the shutdown procedure recommended by the manufacturer
The exact cleaning frequency depends on the printer, ink system, working environment and daily workload. Operators should follow the maintenance instructions for their specific machine rather than applying one universal schedule.
Why White Ink Nozzles May Become Blocked
White ink problems may occur because of:
- Long periods without printing
- Failure of the white ink circulation system
- Ink sedimentation
- Expired or incompatible ink
- Dirty capping station components
- Air entering the ink line
- Poor temperature control
- Incorrect shutdown procedures
- Dried ink around the printhead surface
Repeated automatic cleaning is not always the correct response. Excessive cleaning consumes ink and may not solve a mechanical, electrical or ink-supply problem.
Risks of Long Printer Downtime
A printer that remains unused for an extended period may develop:
- Uneven white ink concentration
- Missing nozzles
- Weak white opacity
- Air inside the ink line
- Dried ink in the capping area
- Increased cleaning and recovery costs
Before holidays or long shutdowns, operators should follow the supplier’s storage or maintenance procedure. Simply switching off the power without preparation can increase the risk of ink settling or drying.
Warning Signs That Require Attention
Stop and inspect the system when any of the following conditions appear:
- White ink density changes during the same print
- Thin lines are missing from the nozzle test
- The white layer contains horizontal gaps
- The printer performs unusually frequent cleaning
- White ink appears separated or inconsistent
- The varnish layer has unexpected blank areas
- Embossed layers no longer align correctly
Early inspection is usually less expensive than continuing production and allowing the problem to become more serious.
Common White Ink, Varnish and Embossing Problems
| Problem | Possible Cause | Recommended Check |
|---|---|---|
| White ink is not opaque enough | Low white density, missing nozzles or insufficient layers | Check the nozzle test, white mask and ink density |
| CMYK colors look dull on dark material | The white underbase is missing or too weak | Add or increase the white backing layer |
| White edges appear around the image | White mask is too large or layers are misaligned | Reduce the white choke and check registration |
| Varnish does not look glossy | Thin layer, unsuitable curing or rough surface | Test varnish density, print mode and UV settings |
| Varnish contains dust or particles | Dirty environment or contaminated material | Clean the surface and control airborne dust |
| Embossed height is uneven | Material is not flat or repeated layers are misaligned | Check platform vacuum, material position and calibration |
| Raised details lose sharpness | Too many layers or excessive ink in small areas | Reduce layer count or simplify the texture file |
| Ink peels from the material | Poor surface adhesion or contamination | Clean the material and test an appropriate primer |
How to Choose a UV Printer for White Ink, Varnish and Embossing
Not every UV printer offers the same level of white ink, varnish and multilayer printing performance. Customers should evaluate the complete system instead of comparing only printing size and machine price.
White Ink Circulation and Agitation
Confirm how the printer manages white ink when the machine is printing and when it is idle. Ask whether the system includes white ink circulation, agitation or another method for reducing sedimentation.
Ink Channel Configuration
Check whether the machine supports the ink combination required for your products. Common configurations include:
- CMYK only
- CMYK + White
- CMYK + White + Varnish
- Expanded color channels with White and Varnish
Ask whether white and varnish can be printed in the same production workflow and whether multiple layers can be repeated automatically.
RIP Software Functions
The RIP software should support the functions required for:
- White underbase generation
- Spot white printing
- Spot varnish printing
- Reverse and mirrored printing
- Multilayer printing
- Repeated texture layers
- White choke or spread adjustment
- إدارة الألوان
Printhead Height and Platform Accuracy
Embossed printing gradually increases the height of the printed surface. The machine must maintain a safe distance between the printhead and the highest area of the product.
A stable platform, accurate height detection and reliable material positioning reduce the risk of printhead contact and layer misalignment.
Vacuum Platform and Material Fixing
Thin boards, acrylic sheets, metal panels and flexible materials may move or lift during printing. A stable vacuum platform helps keep the material flat, especially during repeated varnish or embossed passes.
Technical Support and Spare Parts
Before purchasing, ask the supplier whether it can provide:
- Remote installation and software guidance
- White ink maintenance training
- Sample printing using the customer’s material
- RIP file preparation support
- Printhead and ink system spare parts
- Troubleshooting assistance
- Recommended maintenance procedures
You can view available
UV flatbed printer models
or send your material information to our technical team before selecting a configuration.
Is White Ink, Varnish and Embossed Printing Worth the Investment?
White ink and varnish do not automatically make every business more profitable. Their value depends on the products being produced, the selling price, customer requirements and the ability of the operator to maintain the machine.
Businesses That Can Benefit Most
A UV printer with white ink and varnish is especially suitable for:
- Acrylic sign manufacturers
- Glass printing businesses
- Metal nameplate producers
- Promotional gift companies
- Packaging sample manufacturers
- Awards and trophy businesses
- Custom decoration studios
- Short-run personalized printing companies
- Art reproduction businesses
- Small-batch industrial label suppliers
These businesses can use special effects to differentiate their products from standard CMYK printing and justify a higher selling price.
How Special Effects Increase Product Value
Customers rarely purchase varnish or embossed ink as an isolated feature. They pay for the final appearance and experience of the product.
For example:
- A raised logo makes a gift box feel more premium
- Spot gloss directs attention to a brand name
- White ink makes a clear sign easier to read
- A textured surface helps an art panel look less like a flat reproduction
- Reverse printing protects the image behind clear acrylic
- Selective transparency creates a more customized design
These effects are particularly useful for short-run and personalized production, where customers care more about customization and product value than the lowest unit cost.
When a Simpler Configuration May Be Better
A CMYK-only printer may be a more practical choice when:
- Most products are white or light-colored
- The business does not need transparent material printing
- Production speed is the main priority
- Orders are highly price-sensitive
- No trained operator is available for daily maintenance
- Customers do not pay extra for varnish or texture
| Production Requirement | Suggested Ink Configuration |
|---|---|
| Printing only on white boards | اللون CMYK |
| Printing on black or colored materials | CMYK + White |
| Printing on clear acrylic or glass | CMYK + White with reverse printing support |
| Adding spot gloss and premium highlights | CMYK + White + Varnish |
| Producing raised logos and textures | White or Varnish configuration with multilayer RIP support |
| Producing a wide range of customized products | CMYK + White + Varnish with flexible layer control |
The best way to make a decision is to test the actual material, artwork and required effect before purchasing the machine.
For more product ideas, visit our
UV printing for promotional gifts guide
و
UV printing for signs and displays guide.
الأسئلة الشائعة
1. What is white ink used for in UV printing?
White ink is used to print white designs and to create an opaque base under CMYK colors. It improves color visibility on transparent, colored and dark materials such as clear acrylic, glass, black metal, dark wood and colored PVC.
2. Is white ink necessary for every UV print?
No. White ink is usually unnecessary when printing ordinary CMYK images on white or light-colored materials. Removing the white layer can increase production speed and reduce ink consumption. White ink is most useful on dark, colored or transparent surfaces.
3. Can UV white ink print on clear acrylic and glass?
Yes. White ink can be printed behind CMYK colors to increase opacity or used selectively to create a combination of solid and transparent areas. Adhesion should always be tested because some acrylic and glass surfaces may require cleaning, pretreatment or primer.
4. What is the difference between UV varnish and embossed printing?
UV varnish normally adds gloss, matte contrast or a clear decorative layer. Embossed printing repeats white ink or varnish layers to build a raised surface. A light varnish effect may be mainly visual, while an embossed effect is designed to be visible and tactile.
5. How many layers are required for UV embossed printing?
There is no universal number. The required layer count depends on the desired height, ink type, print resolution, design size, curing settings and printer configuration. A small sample should be produced before beginning batch production.
6. Why does UV printer white ink clog?
White ink contains opaque pigment that may settle during long periods of inactivity. Blockages can also result from poor circulation, dirty capping components, incompatible ink, air in the ink line or incorrect shutdown procedures. Regular nozzle checks and correct maintenance reduce the risk.
7. Can varnish be printed over CMYK UV ink?
Yes. Spot or full-surface varnish can be printed over cured CMYK ink when the printer and RIP software support a varnish channel. Accurate layer registration and suitable curing settings are necessary for a clean result.
8. What type of UV printer is required for embossed effects?
The printer should support white ink or varnish, repeated multilayer printing and accurate registration. The RIP software must recognize separate texture layers, and the machine should provide stable material positioning and safe printhead height control.
خاتمة
White ink, varnish and embossed printing expand a UV printer beyond ordinary full-color production. White ink makes clear and dark material printing possible, varnish adds controlled gloss and surface contrast, and multilayer printing creates raised textures for premium customized products.
However, successful production depends on more than the ink configuration. Customers must consider material adhesion, artwork preparation, layer order, curing settings, production speed, white ink circulation, operator training and after-sales support.
For businesses producing acrylic signs, metal nameplates, glass panels, promotional gifts, packaging samples or decorative products, these functions can create clear market differentiation and higher-value orders.
Test Your Material Before Choosing a UV Printer
Send us your material type, product size, artwork and required printing effect. Our team can recommend a suitable UV printer configuration and arrange a sample printing test.