

 Russian
  English
  Arabic
  German
  French
  Spanish
  Turkish
  Italian
  Persian
  Bengali
  Hebrew
  Persian (Afghanistan)
  Scottish Gaelic
  Panjabi
  Croatian
  Slovenian
  Greek
Greek  Afrikaans
  Czech
Czech  Korean
  Japanese
  Portuguese





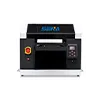
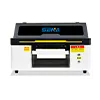
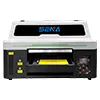
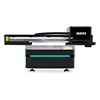
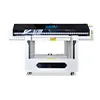
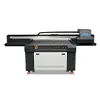
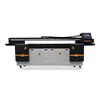
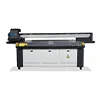
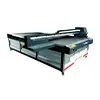
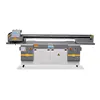
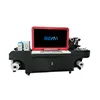
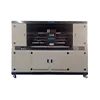
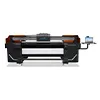
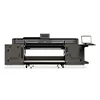



UV Printer Remote Support Guide: Software, Photos, Videos and Diagnostic Checklist
Effective UV printer remote support depends on clear evidence, the correct remote tool and a controlled troubleshooting process. A technician cannot accurately diagnose a printer from a message such as “the color is wrong” or from one blurry close-up photograph that does not show where the problem is located.
Customers can reduce troubleshooting time by preparing the machine information, nozzle test, full print photograph, defect close-up, RIP settings, error message and a complete operating video before the remote session begins.
This guide explains which remote support software is suitable for different problems, how to photograph and record a UV printer fault, what diagnostic information to send, and how to protect passwords, files and machine-control permissions during remote assistance.
Key rule: Record the original problem before changing settings, cleaning repeatedly or replacing parts. Change only one variable during each test so the engineer can identify what caused the result to improve or become worse.
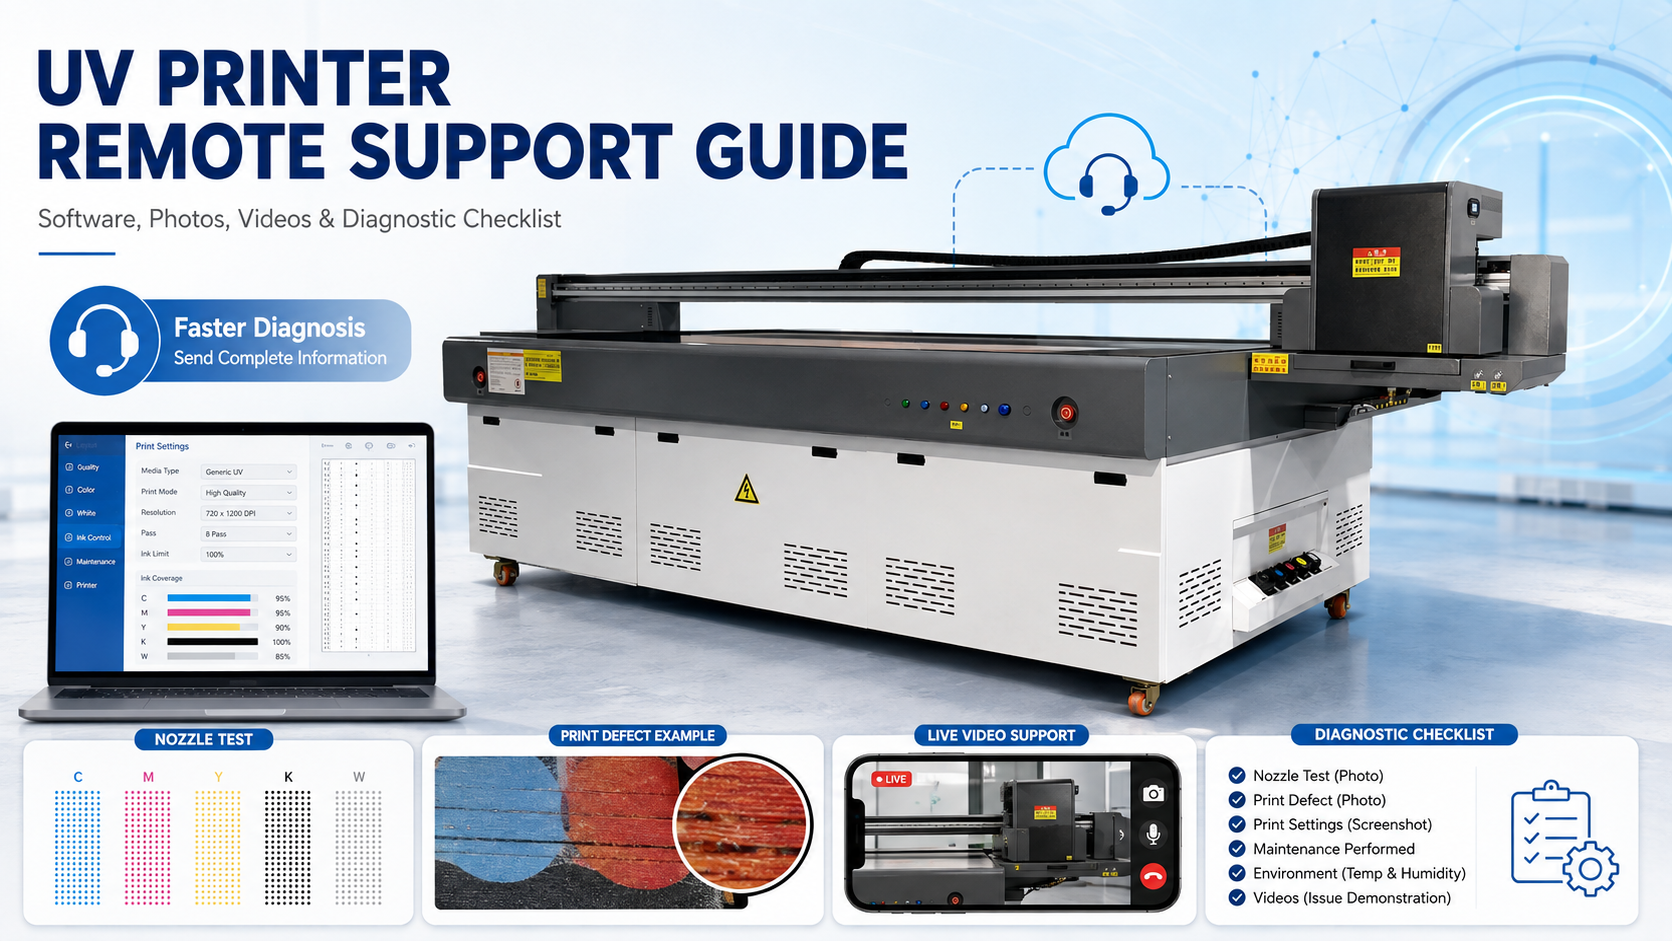
Quick Checklist: What to Send Before Contacting Support
Prepare the following items before requesting UV printer technical support. Sending them together is usually more useful than sending many unrelated photographs over several hours.
| Required Item | What It Should Show |
|---|---|
| Machine information | Printer model, serial number, printhead model and ink configuration |
| Written problem description | The symptom, when it started, how often it happens and what operation triggers it |
| Nozzle-test photograph | Every installed CMYK, white ink and varnish channel |
| Full print photograph | The entire printed product and the location of the defect |
| Defect close-up | Banding, missing color, ink mist, adhesion failure or surface damage |
| RIP settings screenshot | Resolution, pass count, print direction, profile, ink layers and job settings |
| Operating video | The machine before, during and after the abnormal condition appears |
| Error information | The complete error code and control-panel message |
| Troubleshooting history | Actions already completed and the result of each action |
Do not change several parameters before recording the original condition. Otherwise, the technician may be unable to separate the initial fault from problems caused by later adjustments.
Why Remote Troubleshooting Often Takes Too Long
The Problem Description Is Too General
Messages such as “the printer does not work,” “the color is bad” or “there is a strange sound” do not provide enough diagnostic information.
A useful description should explain:
- What operation was being performed.
- What result was expected.
- What actually happened.
- When the problem first appeared.
- Whether it happens continuously or intermittently.
- Whether the problem affects every file, material or print mode.
The Photographs Are Blurry or Too Close
A close-up can show a bubble, loose connector or damaged part, but it may not show where the component is located. The engineer needs both a location photograph and a detail photograph.
For example, first photograph the full right side of the printer. Then photograph the exact damper, tube, pump or connector that appears abnormal.
Important Test Results Are Missing
A defect photograph alone may not reveal whether the problem is related to nozzles, calibration, RIP settings, material flatness, ink supply or UV curing.
For most print-quality problems, the technician also needs a complete nozzle test, a screenshot of the print settings and photographs of both the full print and the defect.
The Video Does Not Show the Failure Process
A five-second video recorded after the printer has stopped cannot show what triggered the fault. Start recording before pressing the print, cleaning, movement or initialization command.
The Customer Changes Settings Before the Engineer Reviews Them
Changing pressure, calibration, pass count, waveform, printhead height and UV intensity at the same time removes valuable diagnostic evidence. Save screenshots and parameter backups before making adjustments.
Information to Prepare Before Contacting UV Printer Technical Support
Machine and Software Information
Prepare the following basic information:
- Printer model.
- Machine serial number.
- Printhead brand and model.
- Number of printheads.
- Ink configuration, such as CMYK, CMYK+W or CMYK+W+V.
- RIP software name and version.
- Computer operating system.
- Printer connection method, such as USB, Ethernet or a control card.
- Driver or printer-control software version.
This information helps the engineer identify the correct wiring diagram, parameter range, software procedure and spare parts.
Ink, Material and Production Information
For print-quality, white ink, curing or adhesion problems, provide:
- Ink brand and ink type.
- Ink batch number when available.
- Date the ink container was opened or installed.
- Material name and thickness.
- Primer, coating or surface-treatment method.
- Printhead height.
- Resolution and pass count.
- Unidirectional or bidirectional printing.
- White ink and varnish layer settings.
- UV lamp or curing settings.
Fault History
Explain what changed before the problem appeared. Useful details include:
- New ink was installed.
- A printhead, damper, filter or pump was replaced.
- The machine was transported or moved.
- A head strike occurred.
- The printer remained unused for a long period.
- The RIP software or computer was updated.
- A different material or print height was introduced.
- Cleaning, calibration or parameter changes were performed.
Also describe every test already completed and its result. “Cleaning performed” is not enough. State whether the nozzle test improved, stayed unchanged or became worse.
Choose the Correct Remote Support Software
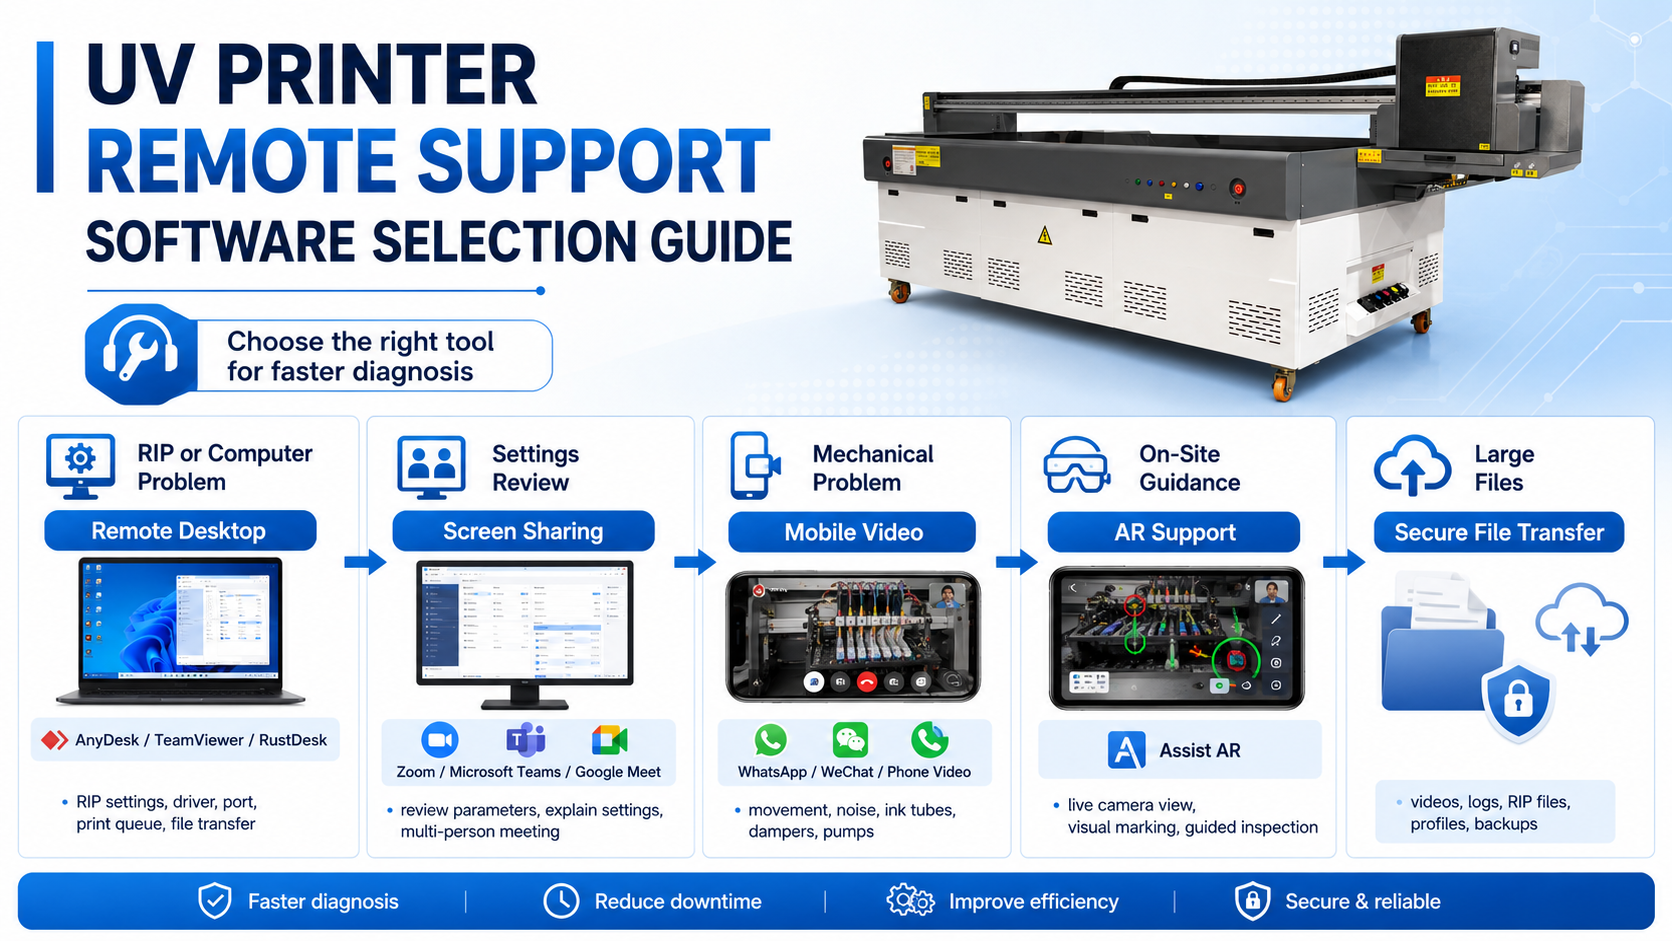
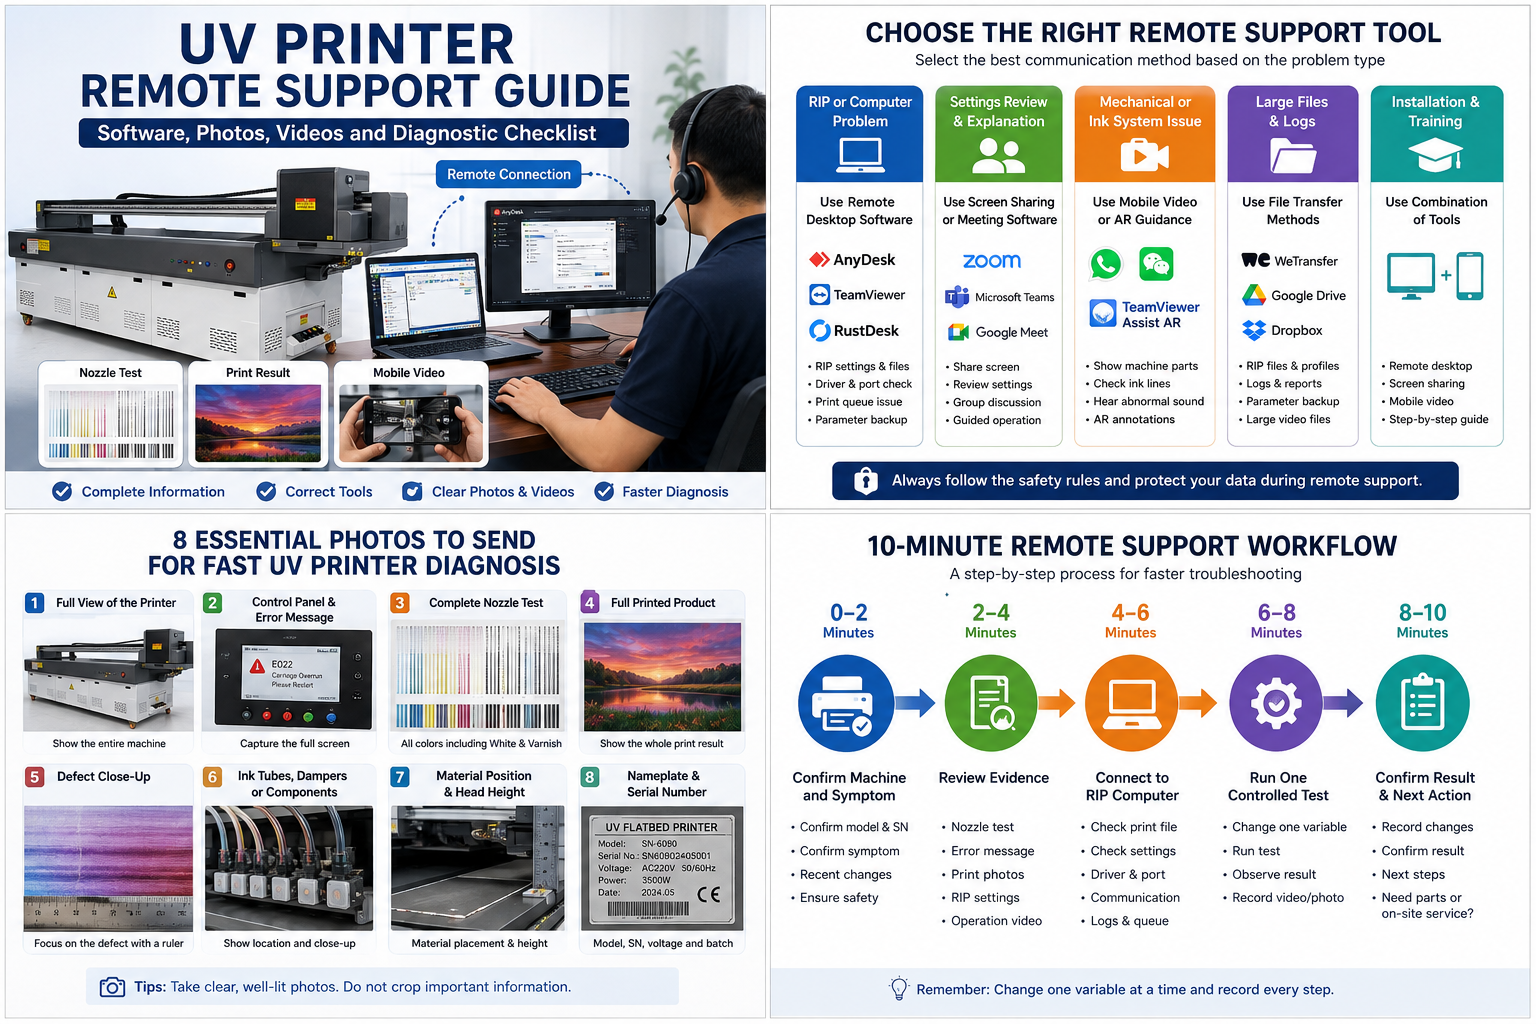
Different tools solve different problems. Remote desktop software is suitable for computer and RIP issues, while mobile video is usually more useful for mechanical movement, ink-line conditions and abnormal sounds.
Remote Desktop Software for RIP and Computer Problems
Common remote desktop tools include AnyDesk, TeamViewer and RustDesk. These tools can allow a technician to view or control the customer’s computer, inspect RIP settings, review print files, check drivers and transfer diagnostic files.
Remote desktop is suitable for:
- RIP installation and configuration.
- Driver and port inspection.
- Print-queue problems.
- Incorrect resolution or pass settings.
- ICC profile selection.
- Software communication errors.
- Parameter backup and log-file collection.
Remote desktop does not automatically allow the engineer to see a leaking tube, hear a pump, inspect a belt or judge material flatness. Hardware faults usually require a separate mobile video connection.
AnyDesk
AnyDesk supports remote desktop control, screen viewing and file transfer. For normal UV printer support, use a customer-approved interactive session whenever possible. Permanent unattended access should not be the default unless both parties have a documented security process.
View the official AnyDesk documentation.
TeamViewer
TeamViewer can be used for remote computer support and file transfer. It is suitable for checking RIP software, drivers, files and computer-side communication.
View the official TeamViewer remote-support documentation.
RustDesk
RustDesk is an open-source remote desktop option. It can use public infrastructure or a self-hosted server, which may be useful for businesses that need more control over their remote-access environment.
View the official RustDesk documentation.
Screen Sharing for Settings Review and Explanation
Zoom, Microsoft Teams and Google Meet are useful when the customer needs to share the RIP screen while speaking with the technician. They are also suitable when several employees, distributors or engineers must join the same support session.
Zoom and Microsoft Teams may allow a participant to grant control of a shared screen, depending on the platform, account settings and administrator permissions. Google Meet is useful for screen sharing, video communication and software explanation, but it should not automatically be treated as a complete remote desktop replacement.
Screen sharing is suitable for:
- Reviewing RIP settings together.
- Explaining calibration procedures.
- Showing an error message.
- Comparing production and quality modes.
- Training several operators at the same time.
Mobile Video and AR Guidance for Hardware Problems
WhatsApp, WeChat and other smartphone video-call tools are useful when the technician needs to see the actual printer. The customer can move around the machine and show the carriage, platform, tubes, dampers, pumps, rails and control panel.
TeamViewer Assist AR provides mobile-camera remote assistance with voice communication and on-screen annotations. The technician can mark a component or direction in the customer’s live camera view, which can reduce misunderstandings when explaining which tube, valve or screw should be inspected.
Mobile video or AR support is suitable for:
- Abnormal carriage movement.
- Unusual mechanical sounds.
- Ink bubbles or leakage.
- Pump and valve inspection.
- Belt, rail and lead-screw inspection.
- Material loading and head-height checks.
- Guided cleaning or component identification.
File Transfer for Logs, Test Files and Large Videos
Small photographs and screenshots can usually be sent through a messaging tool. Large videos, RIP packages, logs, profiles and parameter backups should be sent as original files through an approved file-transfer method.
Avoid sending a heavily compressed video when the technician needs to inspect nozzle patterns, small bubbles, vibration or carriage movement.
Remote Access Safety Rules
Before the Session
- Download remote support software only from the official website.
- Confirm the engineer’s name, company and contact information.
- Close confidential documents, customer lists, prices and unrelated files.
- Back up RIP parameters, profiles and important print files.
- Take screenshots of the current settings.
- Confirm which computer and folders the engineer needs to access.
- Keep the operator beside the printer and computer.
During the Session
- Use temporary, customer-approved session access whenever possible.
- Do not share permanent passwords in public groups or social-media comments.
- Watch the remote operation on the screen.
- Ask the engineer to explain important parameter changes.
- Record the original value and the new value.
- Do not permit unrelated firmware updates or file deletion.
- Keep people away from moving printer components.
A remote engineer may control the RIP computer, but this does not mean that every printer movement is safe to operate remotely. A trained operator should remain beside the printer and be ready to stop the machine if there is a collision, leak or abnormal movement.
After the Session
- End the remote-control session.
- Disable temporary access that is no longer required.
- Change any password that should not remain active.
- Save the final parameter screenshots.
- Record what was changed and why.
- Record the test result and the next action.
- Confirm whether another session, a spare part or on-site service is required.
How to Photograph a UV Printer Problem
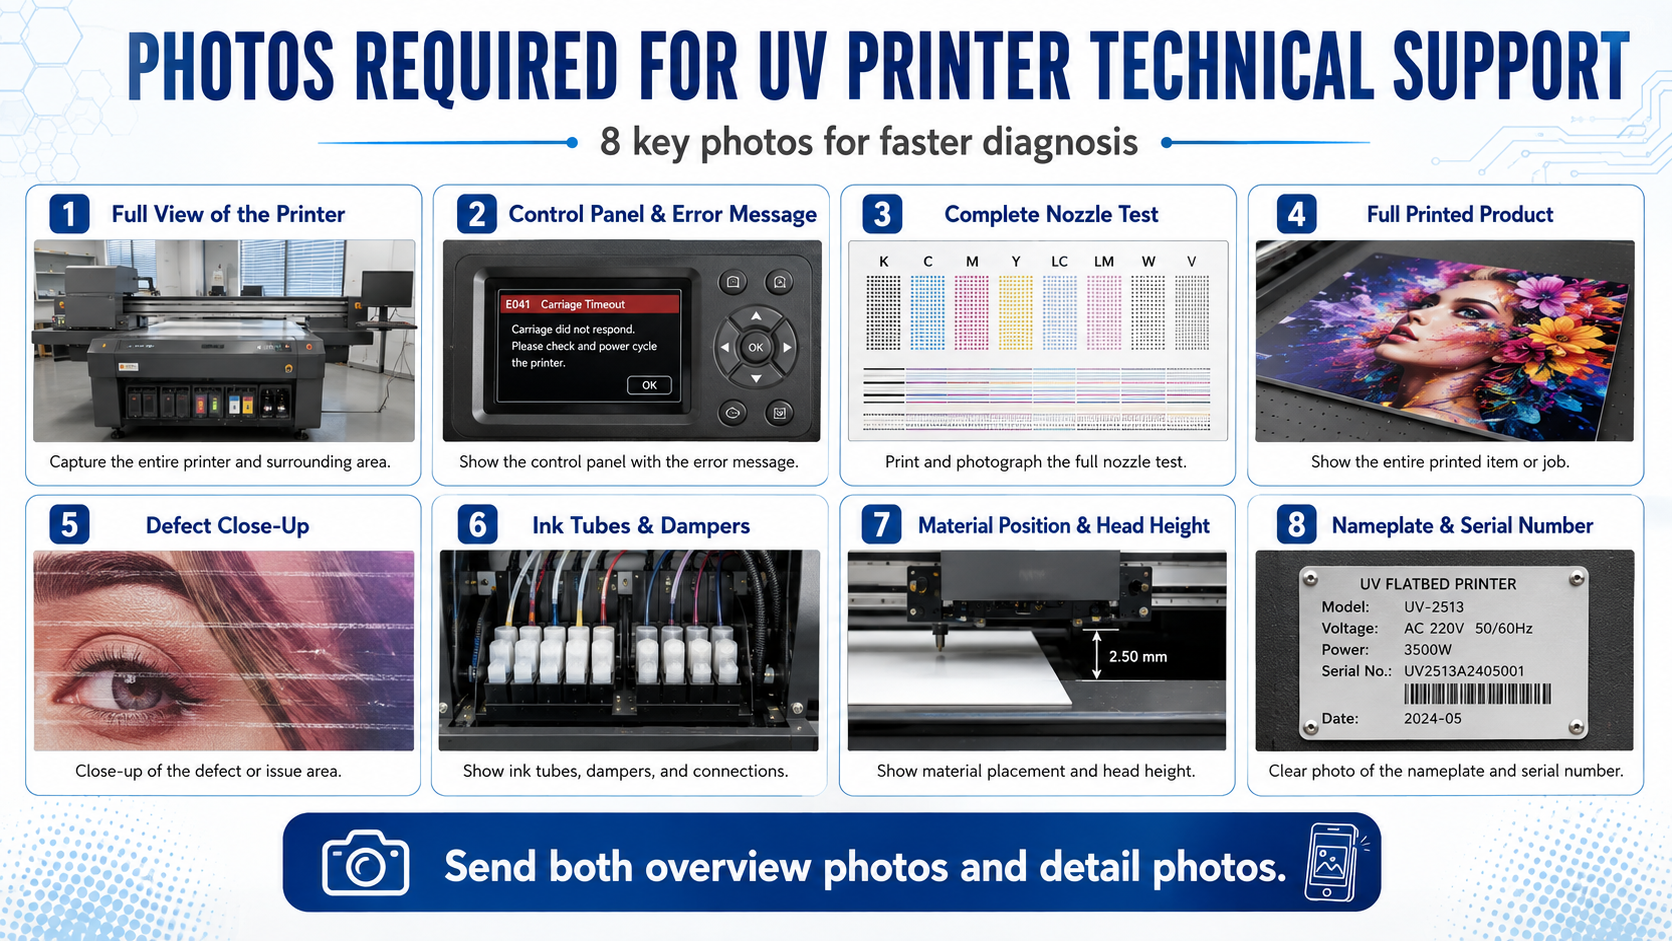
Photo 1 — Full View of the Printer
Take one photograph showing the complete printer. Include the platform, carriage area, ink system and control panel when possible.
This photograph helps the technician understand whether the problem is located on the left, right, front, rear, platform or carriage side of the machine.
Photo 2 — Control Panel and Complete Error Message
Photograph the full screen. Do not crop the error number, message title, time or status information.
Reduce reflections by changing the camera angle. Also state what the machine was doing when the error appeared, such as initializing, moving the platform, cleaning or printing.
Photo 3 — Complete Nozzle-Test Pattern
A useful UV printer nozzle test photo must be sharp, evenly lit and taken directly above the pattern.
- Include every CMYK channel.
- Include white ink and varnish when installed.
- Use a dark background beneath transparent media to show white ink.
- Do not photograph only the missing nozzle area.
- Do not apply beauty filters, sharpening effects or color correction.
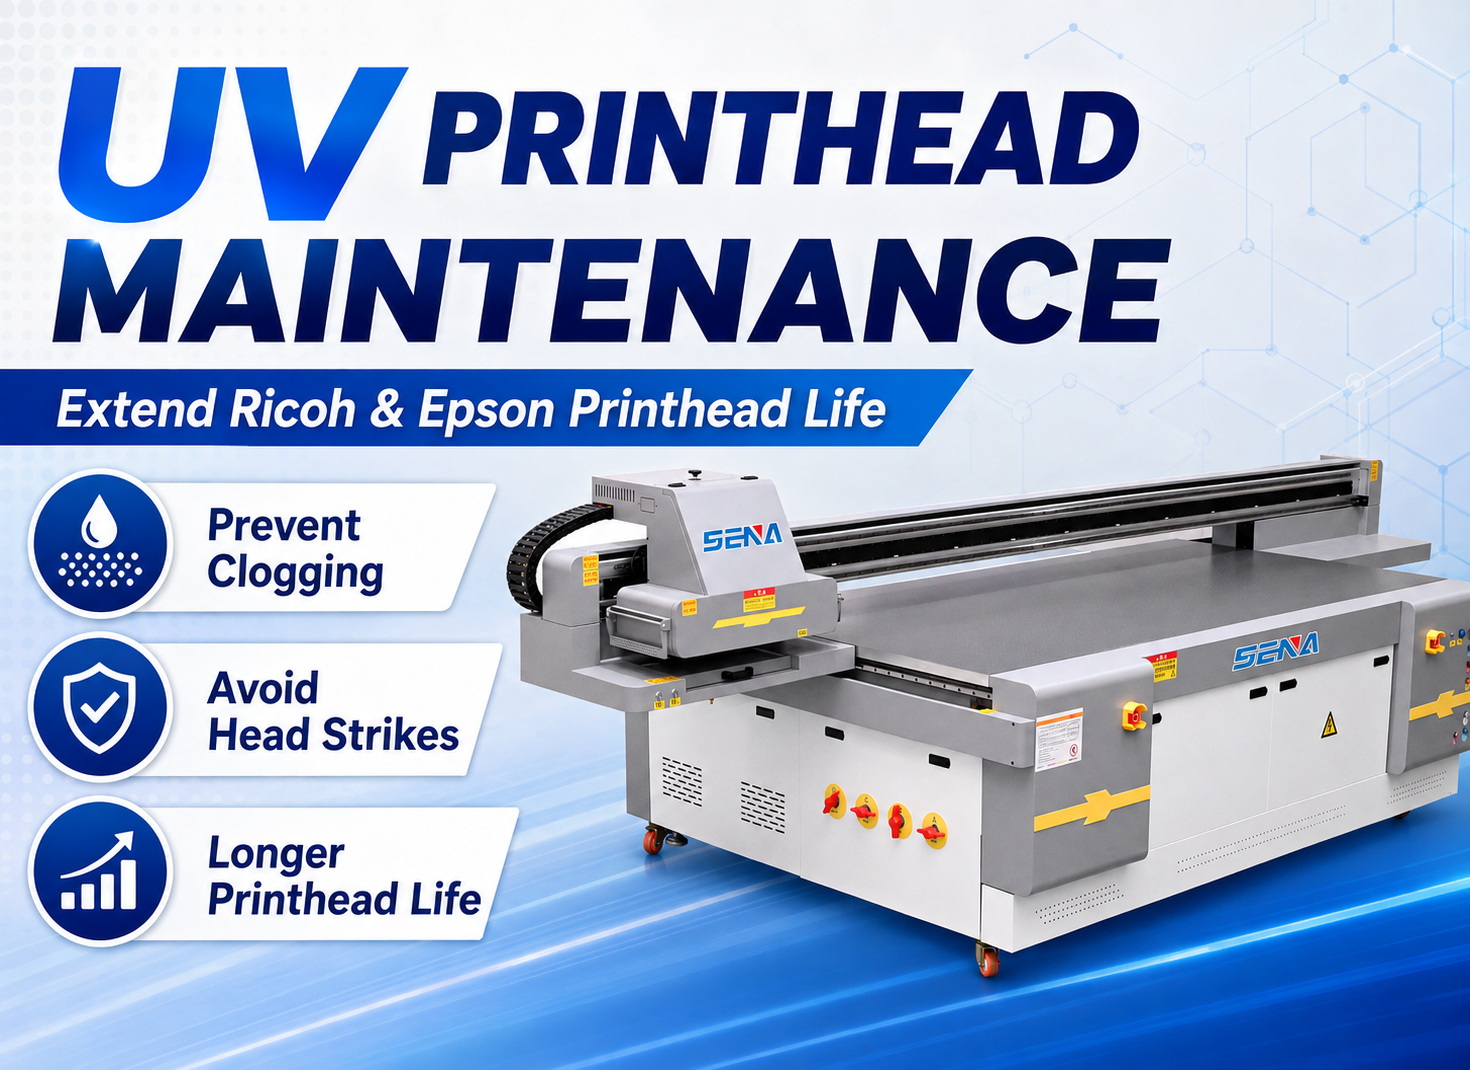
For printhead maintenance information, see our guide to extending Ricoh and Epson printhead life.
Photos 4 and 5 — Full Print and Defect Close-Up
Send both photographs:
- A full view showing the entire printed product.
- A close-up showing the defect clearly.
The full photograph tells the engineer where the defect appears. The close-up reveals the line shape, color shift, ink mist, gloss difference or adhesion failure.
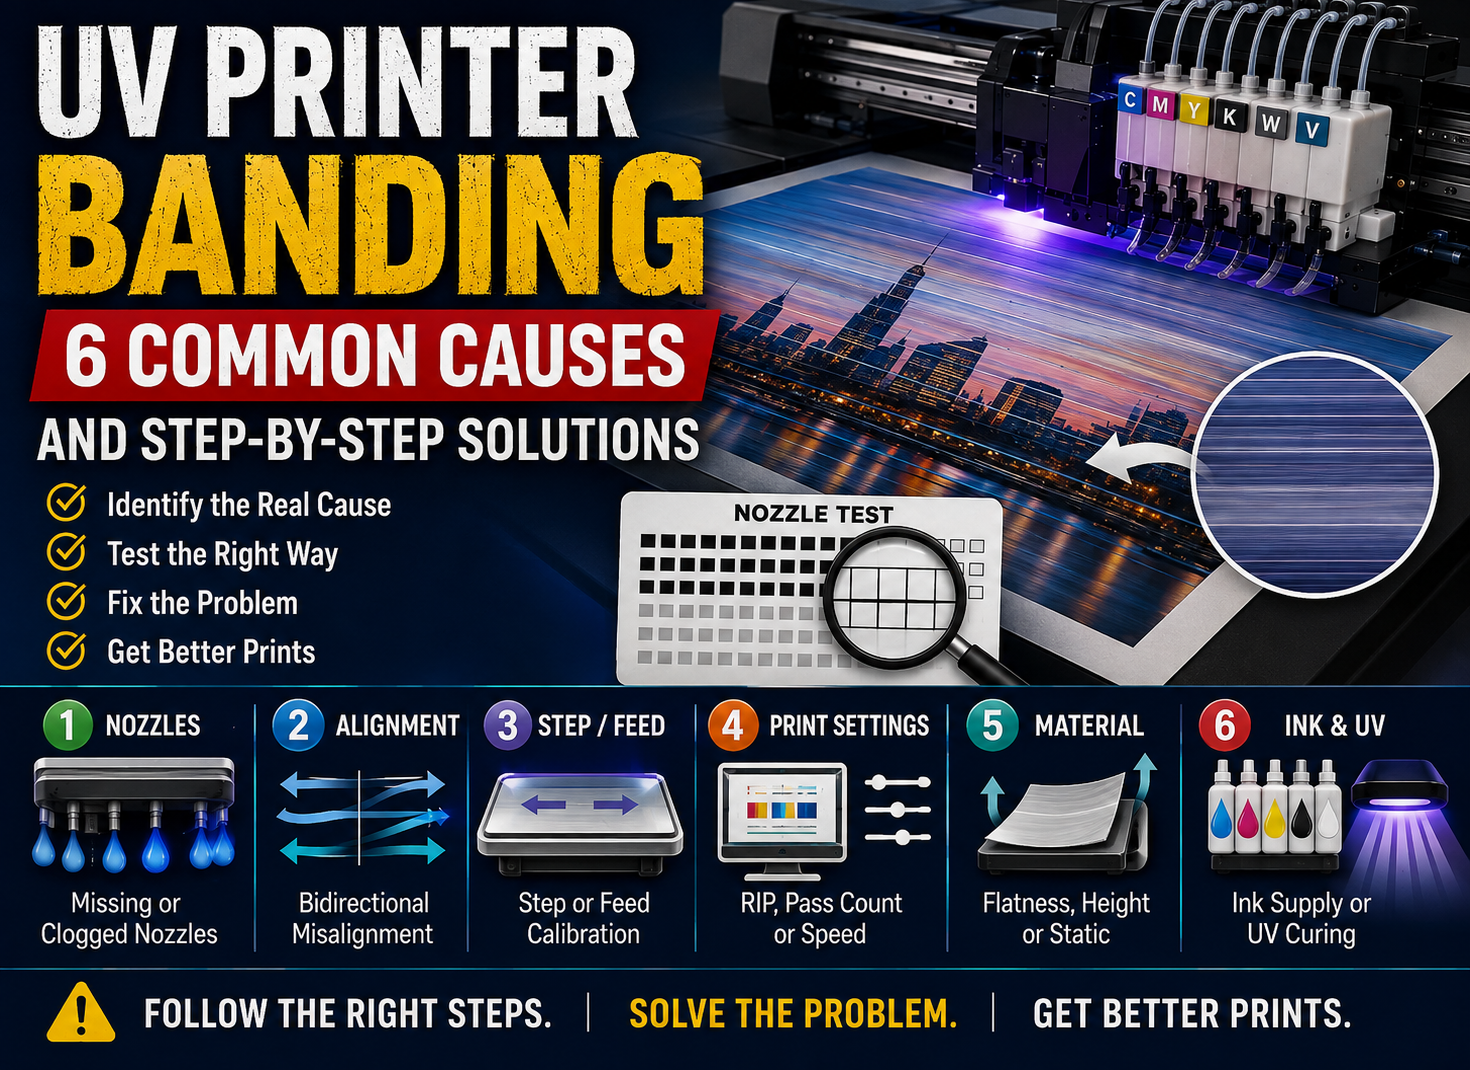
For banding, place a ruler beside the lines when possible. The spacing can help distinguish a nozzle problem from feed, step, encoder or mechanical repetition.
For more detailed line diagnosis, read our UV printer banding troubleshooting guide.
Photo 6 — Ink Tubes, Dampers or Mechanical Components
First take a location photograph showing the whole machine area. Then take a second close-up of the suspected component.
Photograph:
- Bubbles inside ink lines.
- Unequal damper filling.
- Ink leakage.
- Pinched or folded tubes.
- Loose belts or connectors.
- Damaged sensors or switches.
- Dust or contamination around moving parts.
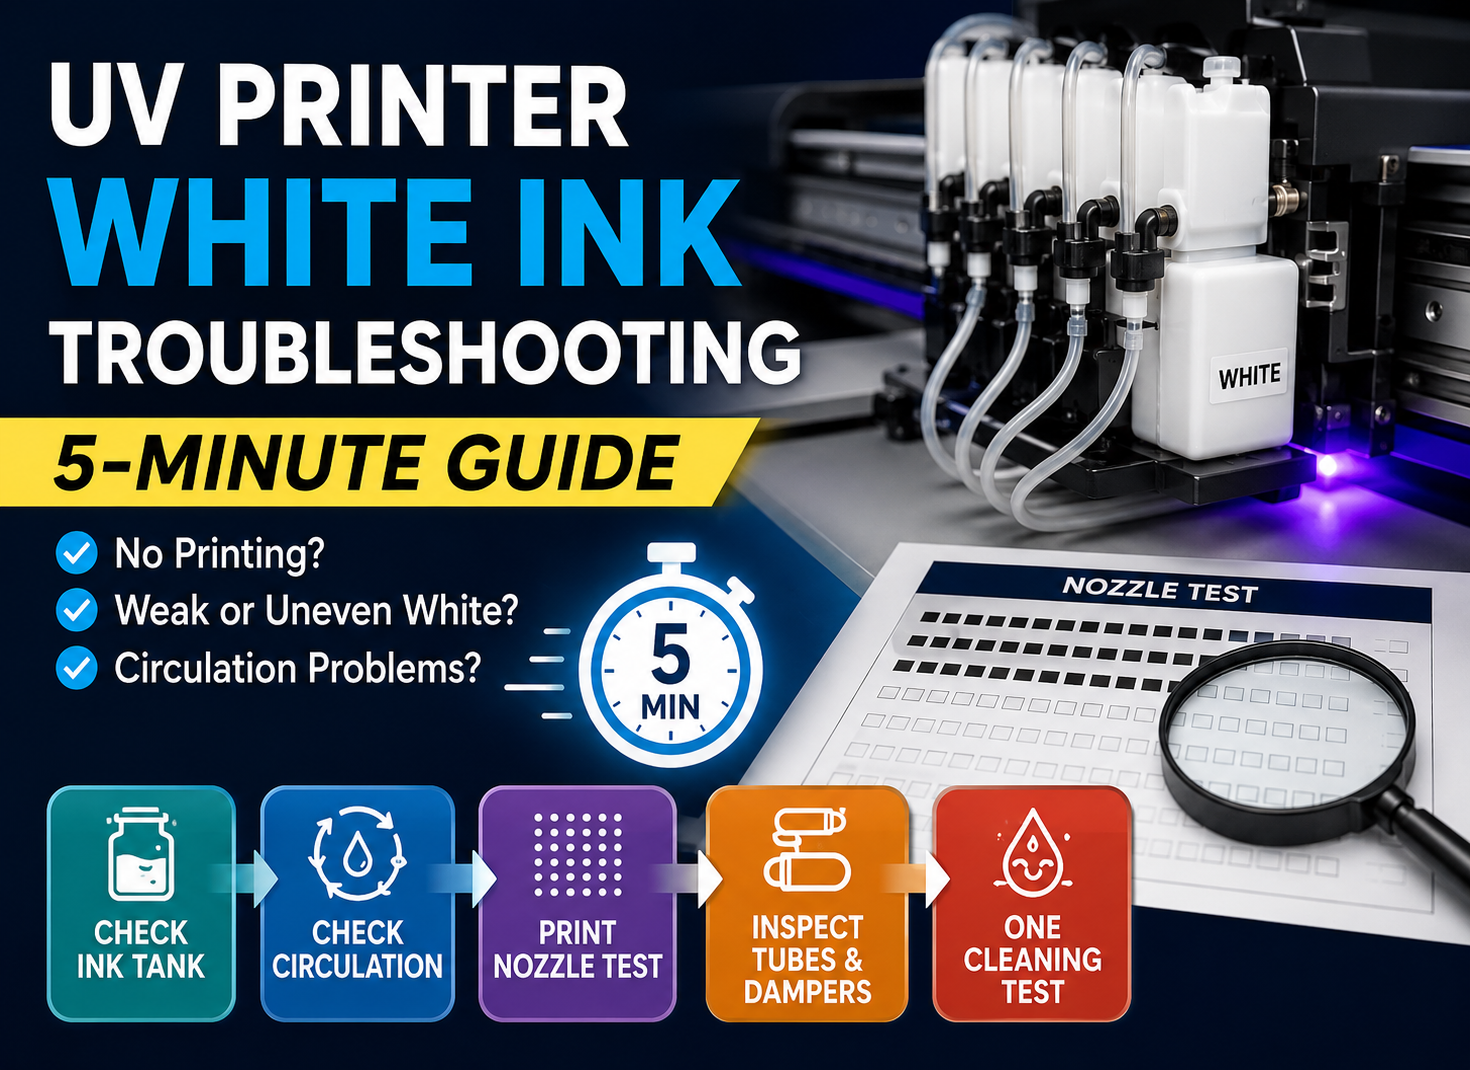
For white ink problems, follow our UV printer white ink troubleshooting guide.
Photo 7 — Material Position and Printhead Height
Show how the material is placed on the platform. Include the corners, vacuum area, fixtures and any raised edges.
The photograph should help the technician judge:
- Whether the material is warped.
- Whether vacuum adsorption is sufficient.
- Whether the fixture is stable.
- Whether the printhead height is excessive.
- Whether a head strike is possible.
Photo 8 — Machine Nameplate and Serial Number
Photograph the complete nameplate so the technician can confirm the model, voltage, serial number and production information. Do not send only a handwritten model name if the nameplate is available.
How to Record a Useful UV Printer Troubleshooting Video
Start with the Entire Machine in View
At the beginning of the video, show the full printer, material position and control-panel status. Then move closer to the problem area.
This allows the engineer to understand where the camera is located and which part is being recorded.
Record Before Pressing the Start Button
Start recording before the operation begins. Capture:
- The command being selected.
- The machine starting to move.
- The exact moment the abnormal condition appears.
- The control-panel response.
- The machine stopping or returning to normal.
A complete fault cycle is more useful than a long video recorded after the problem has ended.
Capture the Original Sound
Do not add music, voice effects, filters or accelerated playback. Mechanical sounds can help the engineer identify a pump, motor, belt, rail, fan or collision problem.
Reduce surrounding conversation and background machinery when possible. Do not cover the smartphone microphone with your hand.
Keep the Camera Stable and Use Good Lighting
- Record horizontally unless the technician requests vertical video.
- Use sufficient lighting.
- Clean the camera lens.
- Avoid rapid camera movement.
- Do not rely on strong digital zoom.
- Keep moving components safely in frame.
- Use a tripod or stable support when possible.
State the Problem at the Beginning
Use a simple spoken introduction:
Printer model:
Current operation:
Expected result:
Actual problem:
When the problem appears:
For example:
“This is an SN-6090 UV flatbed printer. I am starting a normal print in eight-pass bidirectional mode. The carriage begins making a repeated clicking sound when it reaches the right side.”
Additional Evidence Required by Problem Type
| Problem Type | Required Evidence |
|---|---|
| No ink or one missing color | Complete nozzle test, tubes, dampers and one controlled cleaning cycle |
| Banding or color difference | Full print, defect close-up, RIP settings, pass count and print direction |
| White ink problem | White nozzle test, tank, agitator, circulation pump and return flow |
| Movement or abnormal noise | Full carriage video, original sound and close-up of the area where the sound occurs |
| Software or communication problem | Complete error screenshot, RIP queue, driver, port and connection settings |
| UV curing problem | UV lamp status, curing settings and photographs from different lighting angles |
| Adhesion problem | Material, coating, curing information and a scratch or tape-test video |
| Head strike | Material position, damaged area, carriage path and nozzle test after the impact |
The Ideal Remote Troubleshooting Package
A complete remote support package should contain:
- One written problem description.
- One complete nozzle-test photograph.
- One full printed-product photograph.
- One close-up of the defect.
- One RIP settings screenshot.
- One complete operating video.
- The full error code and message.
- The printer model and serial number.
- A list of tests already completed.
- The customer’s country, time zone and available support time.
Use clear file names so the engineer can organize the evidence:
MODEL-DATE-PROBLEM-FILETYPE
Пример:
SN-6090-2026-08-06-Banding-Nozzle-Test.jpg
SN-6090-2026-08-06-Banding-RIP-Settings.png
SN-6090-2026-08-06-Banding-Operation-Video.mp4
UV Printer Support Request Template
Copy the following template and complete every relevant field before sending your request:
UV PRINTER TECHNICAL SUPPORT REQUEST

Company:
Contact person:
Country:
Time zone:
Available support time:

Printer model:
Serial number:
Printhead model:
Number of printheads:
Ink configuration:
RIP software and version:
Computer operating system:

Ink brand:
Ink batch or installation date:
Material:
Material thickness:
Coating or primer:
Printhead height:
Resolution:
Pass count:
Print direction:

Problem description:
Expected result:
Actual result:
Date first noticed:
Is the problem continuous or intermittent?
What changed before the problem appeared?

Tests already completed:
1.
2.
3.

Result of each test:
1.
2.
3.

Error code or message:

Attached files:
[ ] Machine nameplate
[ ] Complete nozzle test
[ ] Full print photograph
[ ] Defect close-up
[ ] RIP settings screenshot
[ ] Complete operating video
[ ] Ink-system or mechanical photographs
A 10-Minute UV Printer Remote Support Workflow
Minute 0–2 — Confirm the Machine and Symptom
The engineer confirms the printer model, printhead, ink configuration, fault description and recent changes. The operator confirms that the machine is in a safe condition for testing.
Minute 2–4 — Review the Evidence
Review the nozzle test, error message, full print, close-up, RIP screenshot and operating video before starting remote control.
This may immediately reveal whether the problem is related to nozzles, alignment, software, material, ink supply or mechanical movement.
Minute 4–6 — Connect to the RIP Computer
Check:
- Print file and job queue.
- Resolution and pass count.
- Print direction.
- ICC profile.
- White ink and varnish layers.
- Driver and port status.
- Communication with the printer.
Minute 6–8 — Run One Controlled Test
Change only one variable. For example:
- Print one nozzle test.
- Change bidirectional printing to unidirectional.
- Increase the pass count by one level.
- Print a standard test file.
- Repeat one movement command while recording video.
Minute 8–10 — Confirm the Result and Record the Next Action
Record:
- What was changed.
- The original value.
- The new value.
- The test result.
- Whether the problem was solved.
- The next inspection step.
- Whether a spare part or on-site service is required.
Часто задаваемые вопросы
Can an Engineer Control the Printer Directly Through AnyDesk?
AnyDesk normally gives the engineer access to the computer connected to the printer. The engineer may control the RIP, printer-control software and computer-side settings. Whether physical printer movements can be started from that computer depends on the machine software and permissions. A trained operator should remain beside the printer.
Is Remote Access Safe?
Remote access can be managed safely when the software is downloaded from an official source, the engineer’s identity is confirmed, the customer approves the session, confidential files are closed and temporary access is ended after support. Do not publish access IDs or permanent passwords in public chats.
What Files Should Be Prepared Before Remote Installation?
Prepare the RIP installer, printer driver, control software, ICC profiles, parameter backup, test files and license information. Also confirm the computer operating system, network connection and available storage space.
Why Does the Engineer Request a Nozzle Test First?
A nozzle test quickly shows whether an installed ink channel is printing correctly. It helps separate nozzle and ink-supply faults from alignment, RIP, material and curing problems. Replacing settings or components before checking the nozzle test can waste time and ink.
How Long Should a Troubleshooting Video Be?
The video should be long enough to show one complete fault cycle. A movement problem may require only 30–60 seconds, while an intermittent printing problem may require several minutes. Clear content is more important than total video length.
What Should I Do If the Internet Connection Is Unstable?
Send the written description, nozzle test, screenshots and small photographs first. Save the original video and upload it in shorter sections if necessary. The engineer can review evidence offline and use mobile video only for the final physical inspection.
Can Mobile Video Replace Remote Desktop Software?
Mobile video is useful for hardware, ink lines, movement and abnormal sounds. It usually cannot replace remote desktop access when the problem involves RIP installation, drivers, ports, print queues, profiles or software parameters. Many cases require both tools.
Should I Allow Permanent Unattended Access?
Permanent unattended access is not normally required for a single troubleshooting session. Use temporary, customer-approved access unless your company and supplier have a formal long-term maintenance agreement with documented security controls.
Заключение
Быстрее UV printer remote support begins before the remote connection starts. Prepare the machine information, complete nozzle test, full print photograph, defect close-up, RIP settings, original error message and a video showing the complete fault process.
Select remote desktop for computer and RIP problems, screen sharing for explanation, and mobile video or AR guidance for mechanical and ink-system inspection. During testing, change only one variable at a time, keep an operator beside the printer and record every parameter change.
For faster UV printer technical support, send all diagnostic information in one organized message instead of sending incomplete files separately.
Need UV Printer Technical Support?
Send us your printer model, serial number, nozzle test, full print photograph, defect close-up, RIP settings, error code and complete operating video. Our technical team will review the evidence and recommend the correct next test.
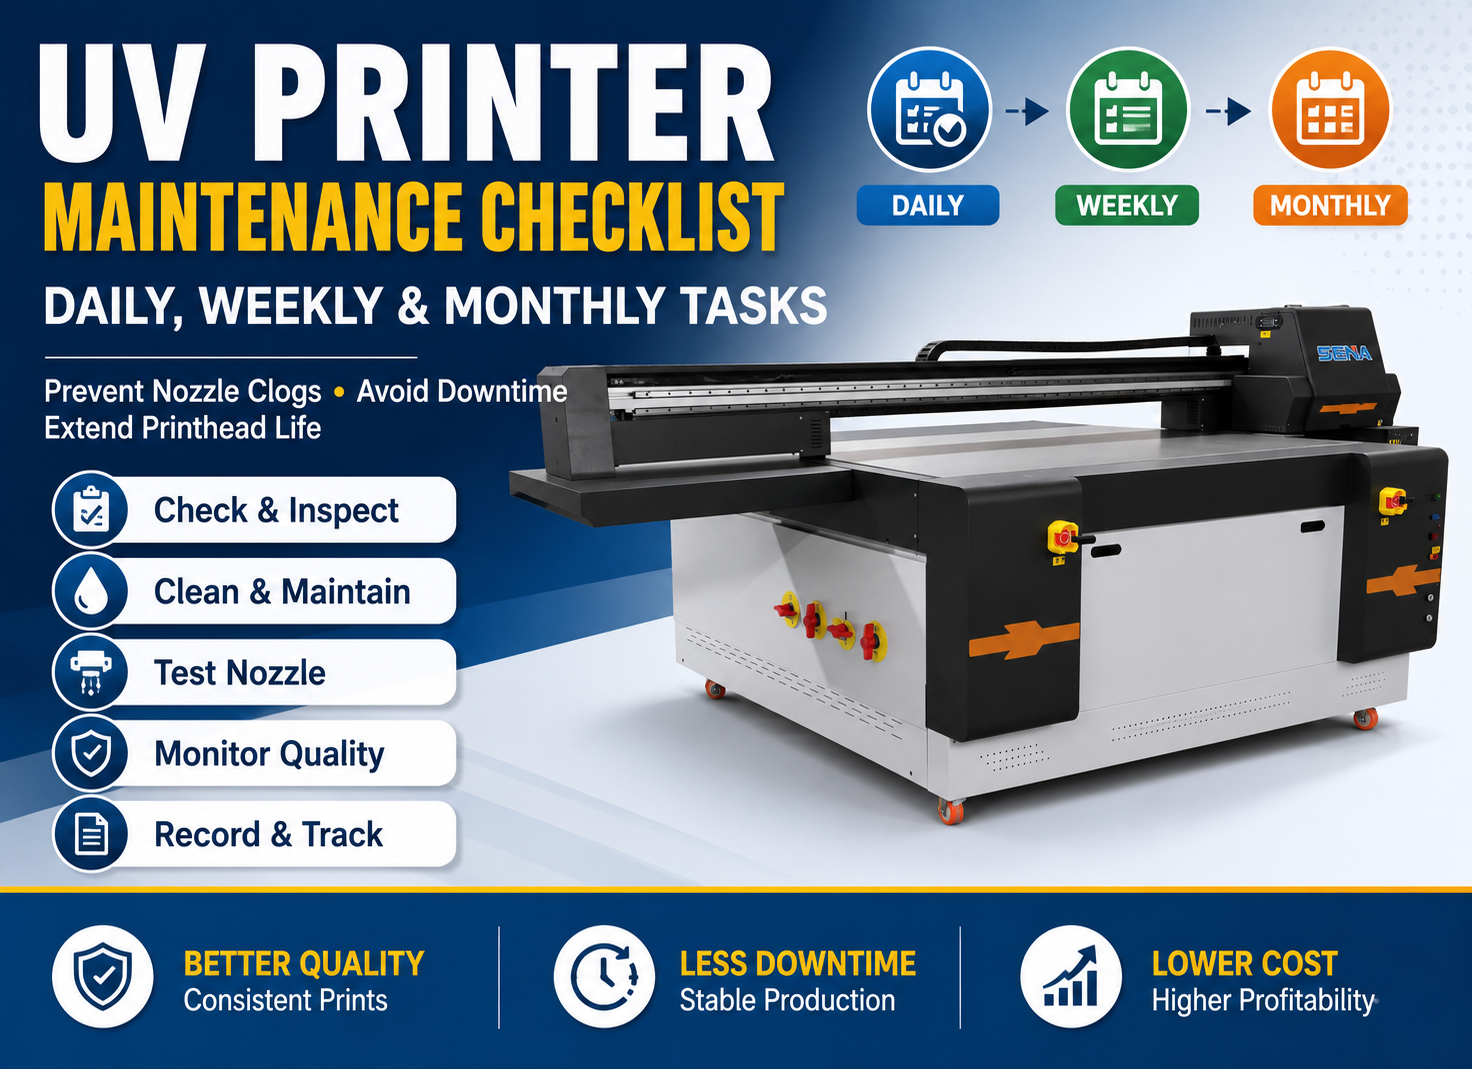
For regular maintenance planning, see our daily, weekly and monthly UV printer maintenance checklist.